Basic HTML Version


Ecrin v4.12 - Doc v4.12.02 - © KAPPA 1988-2009
Saphir Guided Session #3
•
SapGS03 - 1/13
Saphir Guided Session #3
A01 • Introduction
It is assumed that you have already studied the guided sessions #1 and #2. The following
session describes the numerical model. It uses the files SapGS03_FieldMap.bmp,
SapGS03_Porosity.txt and SapGS03_Thickness.txt. This session is divided into three sections:
B Building the Numerical model.
C Using the Numerical model.
D Using the Numerical model with other features and graphics.
Launch Saphir and create a new project with default settings.
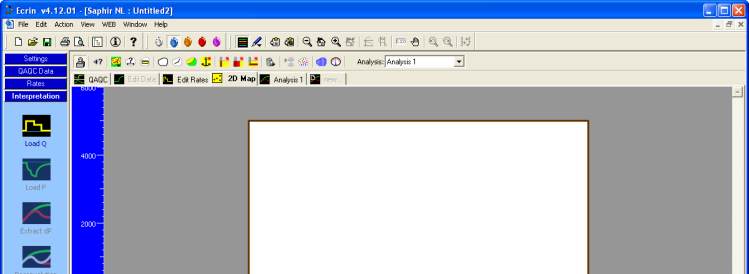
B01 • 2D Map
Click on the '2D Map' tab. The 'Tested well' has been defined in the middle of the default
rectangle and the coordinates of the well is at (0,0).
Fig. B01.1 • 2D Map main screen
Double click on the tested well: the well radius can be set and the coordinates can be
confirmed at (0,0). The well can be a limited entry type or radial composite. The geometry of
the well can be vertical, horizontal or fractured set in the geometry droplist. You enter or load
the production of the well under the 'Production' tab. The rate history of the tested well can
also be loaded through the interpretation page.